A smart vehicle upgrade is not simply a collection of accessories. It is a plan that balances appearance, comfort, performance, reliability, and safe daily use. Whether you are considering wheels, audio equipment, protective coatings, lighting, or car window tinting, each decision should support the way you actually drive. That matters even more in 2026, when many vehicles use cameras, sensors, driver-assistance features, and tightly integrated electronics. A modification that looks good on a weekend build can be inconvenient, costly, or unsafe on a commuter vehicle that handles highway miles, rough weather, passengers, and errands every week.
Why a Plan Matters Before Any Upgrade
Impulse purchases often lead to mismatched parts, duplicate labor, and disappointing results. For example, installing oversized wheels before checking tire clearance, suspension condition, and load ratings can cause rubbing, a rough ride, or premature tire wear. Viewing the vehicle as one connected system helps prevent these avoidable issues. A written plan also protects resale appeal and makes spending easier to control. A daily driver may benefit most from quieter tires, paint protection, improved storage, or better cabin comfort, while a show vehicle may justify more appearance-focused choices. The best plan matches the owner’s priorities without neglecting the vehicle’s core needs. For owners who want privacy, reduced glare, or a more finished exterior appearance, professionally installed car window tinting can fit naturally into a broader comfort and protection plan. It should still be selected with visibility, local tint rules, and the vehicle’s existing glass and sensor placement in mind.
Step 1: Define How the Vehicle Is Used
Start by identifying the vehicle’s main role. A car used for daily commuting needs different upgrades than a truck used for towing or an SUV built for trail weekends. Consider whether the vehicle is primarily used for:
- Daily commuting and city driving
- Family transportation and school trips
- Long-distance travel
- Work, hauling, or towing
- Off-road use
- Weekend, enthusiast, or show driving
Be honest about frequency and conditions. A lowered suspension may suit a fair-weather weekend car, but it can become frustrating on steep driveways, potholes, snow, or heavily traveled roads. The vehicle’s normal use should set the limits for every major decision.
Step 2: Inspect the Vehicle’s Current Condition
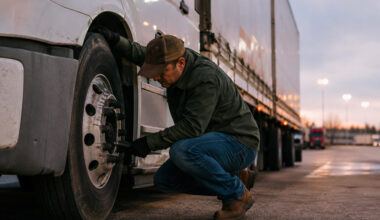
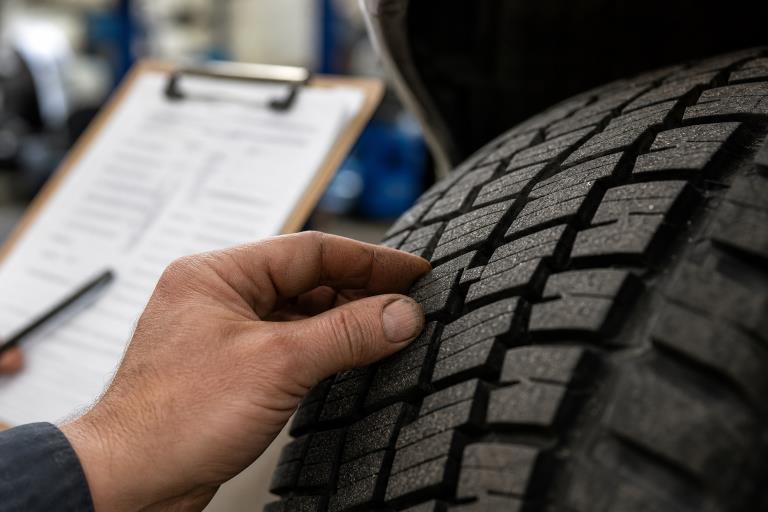
Upgrades cannot replace basic maintenance. Before ordering anything, review service records and inspect the vehicle’s foundation. Check tires, brakes, lights, fluids, suspension components, warning lights, unusual noises, paint, glass, trim, seats, and interior surfaces. Note existing dents, rust, leaks, or wiring concerns that could complicate later work. A clean-looking vehicle with worn tires, weak brakes, or an unresolved warning light is not ready for a priority list of cosmetic changes. Address safety and reliability first, then build outward from a sound base.
Step 3: Rank Upgrades by Value
Sort every proposed change into one of three groups. This simple exercise keeps a project from becoming expensive and unfocused.
- Need:Repairs, worn safety equipment, visibility concerns, or reliability problems.
- Useful:Comfort, storage, protection, sound, lighting, or convenience improvements.
- Want:Styling changes, performance parts, show features, and personal touches.
Complete the need list first, then choose useful upgrades that improve everyday ownership. Wants can follow when the budget allows. This order produces a vehicle that is enjoyable to drive, not just attractive in photos.
Step 4: Match Parts to the Vehicle
Never rely on a product photo or a broad “fits most” claim. Confirm the exact year, make, model, trim, engine, drivetrain, wheel, and tire specifications, available mounting points, and electrical-system capacity. Also consider camera locations, parking sensors, radar modules, and other driver-assistance equipment. A part may fit physically but still create clearance problems, wiring conflicts, poor handling, or sensor interference. Review the manufacturer’s recommendations, request written fitment details, and confirm whether calibration is required after installation.
Step 5: Keep Safety at the Center
Safety should guide every upgrade involving wheels, tires, lighting, suspension, glass, electronics, and exterior accessories. Do not block mirrors, headlights, cameras, or sensors. Do not exceed the vehicle’s load limits, and ensure that added equipment does not interfere with airbags, seat belts, or normal driver visibility. When changing wheels or tires, use the vehicle maker’s recommended specifications unless a qualified professional confirms a compatible alternative. The tire safety guidance from the National Highway Traffic Safety Administration explains why proper sizing, inflation, tread condition, and maintenance are central to safe driving.
Step 6: Build a Realistic Budget
The purchase price is only part of the cost. Include parts, installation, preparation work, calibration, testing, cleaning, routine upkeep, future replacement parts, and possible insurance changes. Older vehicles may require repairs before new equipment can be installed properly. Set aside a small contingency fund for unexpected issues. It is better to delay one lower-priority upgrade than to cut corners on installation, safety checks, or the use of quality materials.
Step 7: Choose the Right Installation Method
Simple storage accessories, basic detailing, and minor trim changes may be reasonable do-it-yourself projects. Wiring, glass work, suspension changes, wheel fitment, structural repairs, sensor-related modifications, and complex electronics are usually better handled by experienced professionals. Before approving work, ask about relevant experience, parts quality, written estimates, warranty coverage, testing procedures, and aftercare. A good installer should be able to explain how the change will affect the rest of the vehicle.
Step 8: Plan the Work in Stages
- Complete maintenance and safety repairs.
- Resolve mechanical, structural, or electrical concerns.
- Install foundational items such as tires, wheels, or suspension components.
- Add comfort, technology, and convenience equipment.
- Finish exterior and interior appearance work.
- Test, inspect, clean, and document the completed project.
Working in stages reduces rework and makes troubleshooting easier. If several major changes are made at once, it becomes much harder to identify the cause of a new vibration, warning light, rattle, or handling issue.
Protect Fuel Economy and Reliability
Added weight, aggressive tires, electrical accessories, and performance modifications can affect mileage, handling, noise, and long-term reliability. Choose equipment that serves a clear purpose, avoid oversized parts that add weight without meaningful benefit, and monitor the vehicle after each major change. Routine care still matters after the project is complete. The vehicle maintenance and fuel economy tips from FuelEconomy.gov reinforce the value of proper tire pressure, recommended fluids, and prompt attention to engine or maintenance issues.
Common Mistakes to Avoid
- Buying parts before verifying compatibility.
- Prioritizing appearance over handling, visibility, or safe operation.
- Installing multiple major upgrades at the same time.
- Ignoring local laws, inspection requirements, or insurance terms.
- Forgetting added weight, electrical demand, and maintenance needs.
- Skipping calibration, alignment, or post-installation testing.
- Failing to save receipts, specifications, and service records.
Review the Finished Upgrade
Take a short test drive in a safe area and listen for rubbing, rattling, vibrations, or unusual sounds. Check lights, controls, cameras, sensors, tire pressure, and wheel clearance in daylight and low light. Keep all installation records, then schedule a follow-up inspection after several days or a few hundred miles, especially after work involving tires, suspension, wheels, or electrical systems. A balanced vehicle upgrade plan begins with purpose, condition, safety, and budget. By making changes in a thoughtful order, checking compatibility, and reviewing every result, owners can create a vehicle that looks better, works better, and remains dependable for the miles ahead.
Conclusion
A successful vehicle upgrade starts with purpose, safety, and a realistic budget rather than appearance alone. By inspecting the vehicle first, confirming compatibility, complying with local requirements, and completing upgrades in stages, owners can avoid unnecessary costs and installation issues. Whether improving comfort, performance, protection, or style, each modification should work with the vehicle’s existing systems and everyday needs. Careful planning helps create a vehicle that looks better, functions reliably, and remains safe and practical for the miles ahead.