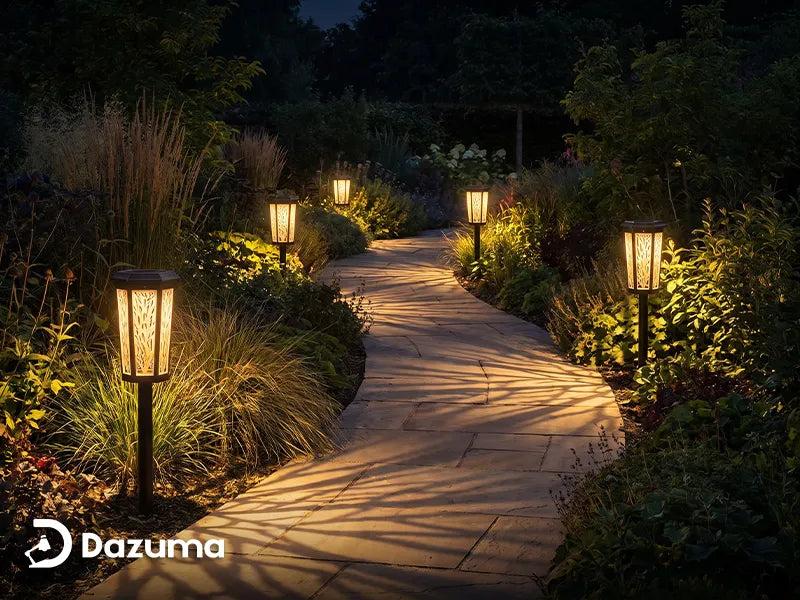
A dark walkway can make even a well-designed yard feel unfinished. It can also make steps, changes in paving, and garden edges harder to see when family members or guests are moving around after sunset. Adding outdoor path lighting seems like an obvious solution, but there is an important difference between making a pathway easier to navigate and making the entire yard unnecessarily bright.
The best path lighting tends to feel subtle. You notice where to walk, the landscaping gains a little depth, and the route toward the house feels welcoming without every fixture demanding attention.
If you are planning a lighting update, the following ideas can help you choose fixtures, spacing, brightness, and placement that work with your home instead of overwhelming it.
Good path lighting should make a walkway easier to follow while allowing the surrounding landscape to retain natural areas of shadow.
Start With the Reason You Need the Light
Before thinking about style, decide what problem the lighting needs to solve.
A front walkway used every evening may need dependable illumination from the driveway to the door. A garden path that is mainly decorative may only require a few softer points of light. Steps, changes in elevation, and tight corners usually deserve more attention than long, straight stretches of paving.
Thinking about function first can prevent you from buying more fixtures than necessary. Walk through the area after dark and notice where you naturally slow down, where the ground becomes difficult to see, and where landscaping blocks existing light.
Those locations are usually better starting points than simply measuring equal distances along the entire path.
Avoid the Airport Runway Effect
One of the most common path-lighting mistakes is installing identical fixtures directly opposite one another at perfectly regular intervals.
Although the layout may look organized on paper, the finished walkway can resemble a miniature airport runway. It can also make the fixtures more noticeable than the landscaping they are supposed to illuminate.
For many residential paths, staggered placement feels more natural. Put a light near a curve, another beside an important plant, and another where the walkway changes direction. The pools of light can overlap gently without creating an unbroken strip of brightness.
Formal landscapes are an exception. If the architecture and garden are strongly symmetrical, evenly positioned lights may reinforce that structure. The layout should follow the character of the property rather than a universal spacing rule.
Choose a Fixture That Fits the Scale of the Path
Path lights range from very low ground-level fixtures to taller designs with a stronger presence in the landscape.
A narrow garden path surrounded by flowers may look better with small, understated fixtures. A wide approach to a large contemporary home may need taller or more substantial lights so they do not disappear against the architecture.
Homeowners comparing different Path Lights can find designs ranging from compact in-ground solutions to taller modern fixtures. Looking at several forms before choosing can help you understand whether the light should almost disappear into the garden or become a visible part of its design.
Also think about daytime appearance. Unlike indoor lighting, outdoor fixtures remain part of the landscape even when they are switched off.
Keep the Light Out of People’s Eyes
A path light does not need to be extremely bright to be useful. In fact, excessive brightness can make walking less comfortable because glare reduces your ability to see darker areas beyond the fixture.
Look for designs that direct illumination toward the ground or use a shade, diffuser, or shield to control the beam. The goal is to illuminate the walking surface rather than the face of the person using it.
Warm light often feels particularly comfortable around residential gardens because it works well with timber, brick, stone, planting, and other natural materials. Whatever color temperature you choose, try to keep nearby exterior fixtures reasonably consistent so one area does not look warm while another suddenly appears cool and blue.
Use Plants and Architecture to Help With Placement
Path lighting looks more intentional when it responds to what is already in the yard.
A fixture beside an ornamental grass can illuminate both the walkway and the plant’s texture. A light positioned near a stone retaining wall can reveal the wall while still providing useful ground illumination. Near the entrance, pathway fixtures can visually connect with wall sconces, porch lights, or other architectural lighting.
This is often more attractive than treating each outdoor light as an isolated object.
If you are planning several different types of exterior lighting, suppliers such as Dazuma Lighting offer path, landscape, wall, bollard, and other outdoor fixture categories that can be considered together when developing a coordinated lighting plan.
Think About Weather Before Style Alone
Outdoor fixtures have a much harder job than indoor lights. They may be exposed to rain, irrigation, dust, temperature changes, and damp soil for years.
Always confirm that the fixture is intended for outdoor installation and check its protection rating and installation requirements. A light installed in an exposed location may need greater weather protection than one installed beneath a covered porch.
Material also matters. Metal finishes should be suitable for exterior conditions, and ground-mounted fixtures need stable installation so they remain upright through weather changes and routine yard maintenance.
If you use sprinklers or irrigation systems, consider where water regularly lands before choosing the final positions.
Solar and Wired Options Serve Different Needs
Solar path lights can be convenient because they do not require extensive wiring. They can work especially well along garden edges and secondary walkways that receive good sunlight during the day.
However, their performance depends on solar exposure, battery capacity, season, and weather conditions. A heavily shaded path may not be the ideal place for them.
Hardwired or low-voltage systems generally offer more consistent output and may be preferable for frequently used entrances and main walkways. They require more planning at the installation stage but can provide dependable illumination night after night.
You can also combine systems. There is no rule saying every light on the property must use the same power source.
Check the View From Inside the House
After placing your lights, step inside and look through the windows.
This simple test is often forgotten. Fixtures that appear subtle while you are standing in the garden may produce distracting points of glare when viewed from a sofa, dining table, or bedroom window.
At the same time, well-positioned path lighting can improve the view from indoors. Instead of looking through the glass into complete darkness, you may see a softly illuminated path extending into the garden, making the property feel visually larger after sunset.
Add Fewer Lights First
When in doubt, begin with fewer fixtures than you think you need.
Install or temporarily position lights near steps, turns, entrances, and other important areas first. Then view the property from several angles after dark. If a section of the path still feels unclear, another fixture can always be added later.
It is much easier to add light than to correct a yard that has been overlit.
A successful pathway does not need to glow continuously from beginning to end. Small pools of controlled illumination are often enough to guide movement, reveal landscaping, and make the route toward the home feel comfortable.
When spacing, brightness, scale, and weather resistance are considered together, path lights become more than a safety feature. They help shape how the entire property is experienced after dark, creating a welcoming route through the landscape without taking away the beauty of the night itself.