After a fire, flood, windstorm, or other major loss, homeowners often face urgent decisions before they have a full picture of the damage. Working with an experienced restoration contractor can help bring order to the process, but safety, documentation, and clear communication should come first.
A thoughtful recovery plan can protect your household, support an insurance claim, and reduce the chance that hidden moisture, smoke residue, or structural damage turns into a larger problem later. The goal is not to rush back to normal. It is to make careful decisions that lead to a safe, durable repair.
What To Do In The First Few Hours
In the immediate aftermath, focus on preventing injury and stopping additional loss. Call emergency services if someone is injured, there is an active fire, a gas odor, exposed wiring, structural movement, or another immediate danger. Contact utility providers when electricity, gas, or water service could create a hazard. Keep children and pets away from damaged areas.
Notify your insurer as soon as practical, then begin a simple expense log. Save receipts for emergency supplies, hotel stays, meals, boarding for pets, temporary repairs, and cleanup materials. These records can be important if your policy includes additional living expense coverage or reimbursement for reasonable mitigation costs.
How To Check Whether The Property Is Safe
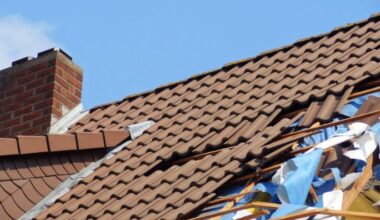
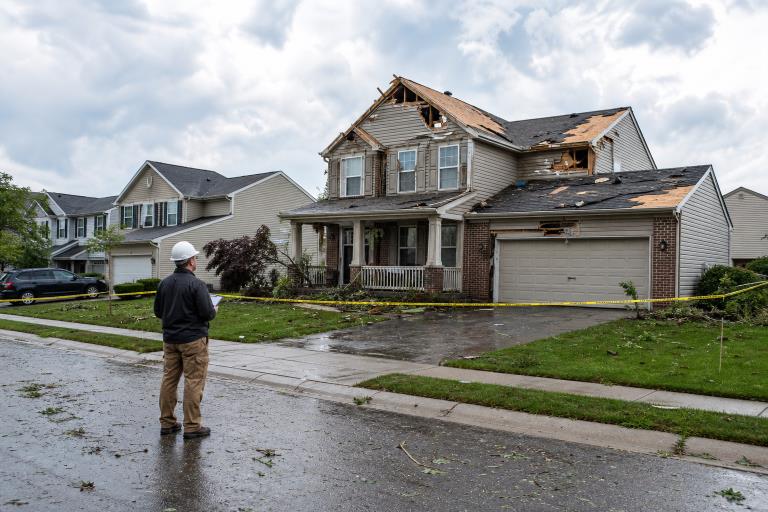
Do not assume a property is safe because the event has ended. Look for sagging ceilings, cracked foundations, damaged stairs, broken glass, standing water near outlets, exposed electrical components, leaning walls, roof openings, strong chemical odors, or hissing gas lines. If any of these conditions are present, leave the area and contact qualified professionals or local authorities.
For limited cleanup in an approved safe area, wear gloves, eye protection, sturdy closed-toe shoes, and appropriate respiratory protection. Floodwater, sewage, soot, ash, mold, and damaged building materials can all create health concerns. The U.S. Fire Administration provides helpful guidance for homeowners after a fire, including early recovery and insurance considerations.
How To Document Property Damage
Documentation creates a reliable record of what happened before cleanup, disposal, or repairs change the scene. Start outside, then move room by room. Capture wide shots that show the location of damage and close-ups that show its condition.
Damage Documentation Checklist
- Photograph every affected room from multiple angles.
- Take close-up images of walls, ceilings, floors, appliances, fixtures, and personal belongings.
- Record short videos that show the scale of the damage.
- Write down the date, likely cause, and sequence of events.
- Create an itemized list with approximate age, purchase date, and replacement cost.
- Keep inspection reports, estimates, invoices, emails, and claim numbers together.
- Back up digital files to cloud storage, email, or an external drive.
Avoid throwing away damaged items until the insurer or adjuster has had an opportunity to review them, unless they create an immediate health or safety risk. If disposal is necessary, take photos and videos first. For materials such as carpet, flooring, or upholstery, a small labeled sample may help document quality and type.
How The Insurance Claim Process Works
A typical claim begins with a first notice of loss, followed by a review of the policy, an adjuster inspection, damage estimates, and payment decisions. Your deductible is generally the portion of a covered loss you pay before insurance contributes. Policy limits, exclusions, depreciation, and endorsements can all affect the final amount available for repair or replacement.
Similar damage may be treated differently depending on its cause. For example, homeowner’s insurance, separate flood insurance, and earthquake coverage may have different terms. Review the policy carefully and use the National Association of Insurance Commissioners’ homeowners claim guidance to better understand common filing steps. Ask for written explanations if an item is denied, omitted, or attributed to a cause you do not understand.
When To Make Temporary Repairs
Temporary repairs can be necessary to prevent more damage. Covering a broken window, tarping an exposed roof area, removing standing water, boarding an opening, or beginning emergency drying may be reasonable steps. Photograph conditions before and after the work, retain receipts, and keep a record of who completed it.
Temporary protection is different from permanent reconstruction. Avoid making major design changes, removing evidence, or authorizing broad rebuilding work until the damage is documented and a clear scope has been reviewed. This reduces disputes about what was damaged, what is covered, and what work remains necessary.
How To Build A Restoration Plan
A complete restoration plan usually moves through several connected stages:
- Inspection:Identify visible damage and investigate likely hidden damage behind walls, beneath flooring, or inside insulation.
- Stabilization:Stop active leaks, secure openings, and address urgent safety issues.
- Cleanup and mitigation:Dry water-affected areas, remove unsafe materials, clean smoke residue, and control odors when needed.
- Scope of work:List repairs, materials, exclusions, allowances, and expected tasks in writing.
- Approvals:Confirm insurer requirements, permits, inspections, and applicable building codes.
- Reconstruction:Repair structural components and replace damaged finishes.
- Final review:Confirm work quality, documentation, and any remaining concerns.
A written scope matters because it gives everyone a shared reference point. It should explain what will be repaired, which materials will be used, how changes will be approved, and whether any work is excluded. Hidden damage is common after water intrusion and fire, so the plan should also explain how discoveries will be documented and priced.
Common Mistakes That Slow Recovery
- Entering an unsafe structure before it has been evaluated.
- Cleaning, discarding, or repairing evidence before documentation.
- Accepting an estimate without checking whether all visible damage is included.
- Starting permanent work without a detailed written scope.
- Failing to ask about permits, inspections, and code-related requirements.
- Selecting a contractor only because the price is lowest.
- Making large payments without clear invoices, milestones, or receipts.
- Ignoring new odors, moisture, staining, or movement during repairs.
Questions To Ask Before Work Begins
- What damage was found, and how was it measured?
- Could moisture, smoke, mold, or structural damage be hidden from view?
- Which repairs are urgent, and which can wait?
- What is included and excluded in the written scope?
- Are permits, inspections, or code upgrades required?
- How will newly discovered damage and change orders be handled?
- What is the expected project schedule and payment process?
- What warranty and follow-up process apply after completion?
How To Review Completed Work
Before treating the project as complete, walk through each affected area and compare the finished work with the approved scope. Check that doors and windows operate properly, repaired surfaces are consistent, fixtures work, moisture concerns have been addressed, and all removed materials were replaced as agreed.
Collect final invoices, permits, inspection records, warranties, photographs, and signed change orders. Keep these documents with your home records. They can be valuable for future maintenance, warranty questions, additional claim discussions, or resale disclosures. A careful, documented recovery process helps turn a stressful property loss into a safer and more confident path forward.