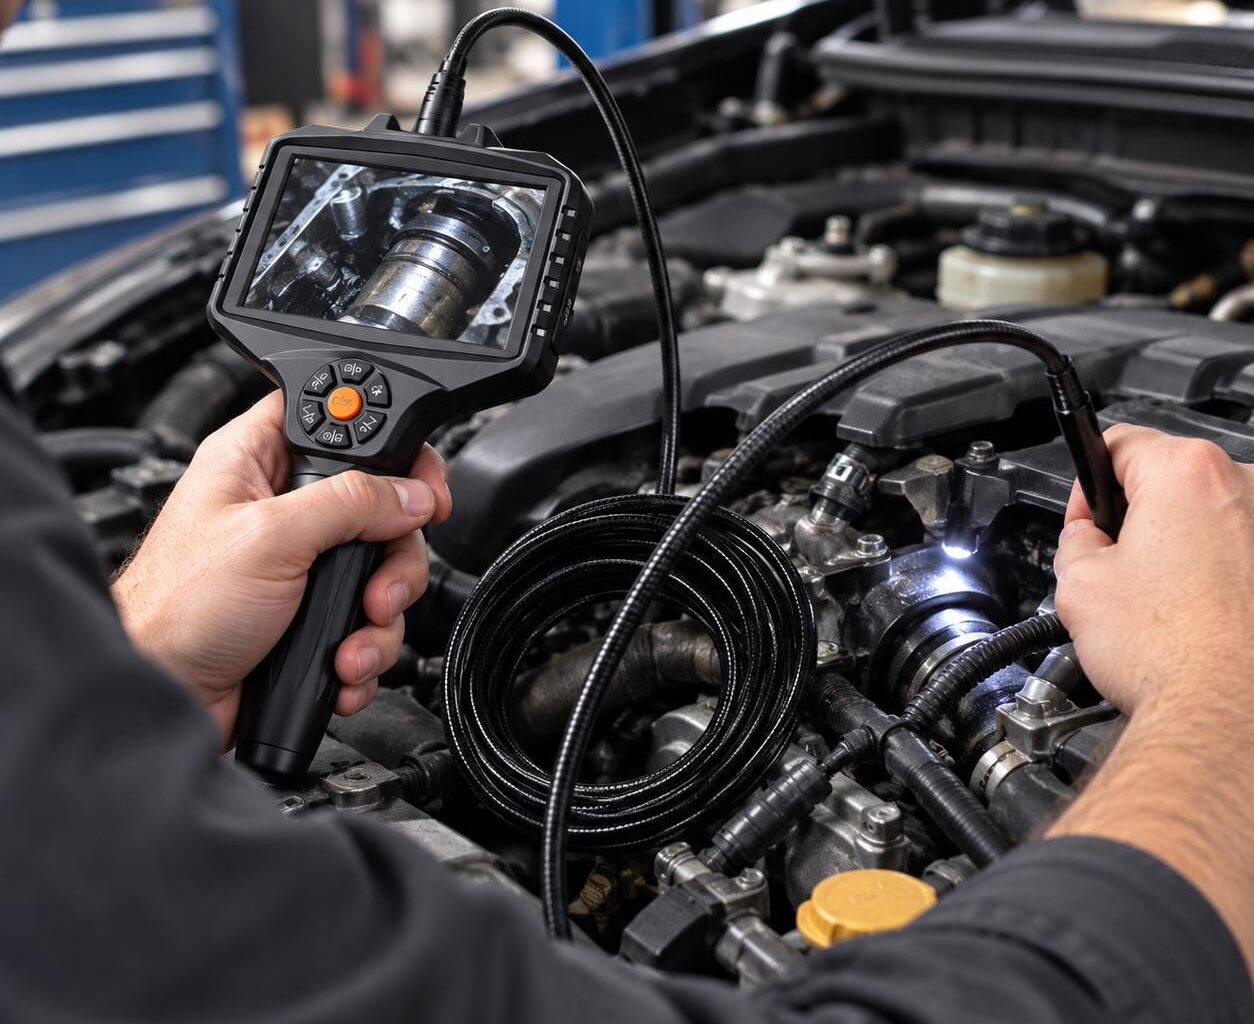
Imagine you are inspecting an engine and suspect internal wear, but the access port is too narrow for your camera. Or you are checking a pipe where the probe can reach the suspected problem but cannot turn enough to see the damaged section. In both cases, having a high-resolution camera does not solve the actual inspection problem.
Choosing the right borescope starts with the inspection path, not the camera specifications. Probe diameter, working length, articulation, viewing angle, lighting, image quality, and durability all determine whether the tool will work in the field.
The right borescopes should give you enough access to reach the target, enough control to position the camera, and enough visibility to identify and document what you find.
Start With the Inspection Access Point
The first question is simple: Where does the probe need to enter?
A borescope with excellent imaging is useless if its probe cannot pass through the available opening. Measure the smallest access point before looking at other specifications.
This matters when inspecting:
- Engine cylinders and mechanical assemblies
- Narrow pipes and tubing
- HVAC systems
- Wall cavities
- Gearboxes
- Machinery housings
- Drain and plumbing systems
Probe diameter creates a trade-off. Smaller probes can enter tighter spaces, but reducing the diameter can limit the space available for the camera sensor, lighting, articulation mechanism, and protective construction. Larger probes can provide stronger imaging and illumination, but require more room.
A practical approach is to choose the largest probe that safely fits the access point and inspection path rather than automatically choosing the smallest model.
Also consider the shape of the route. A probe may fit through the opening but still struggle to pass a bend or reach the target at the correct angle.
Match Probe Flexibility to the Inspection Path
Once the probe is inside, the next problem is positioning it.
Suppose you insert a camera into a pipe and know the suspected defect is around a bend. A fixed forward-facing camera may reach the general area but leave the damaged section outside the field of view. Pulling the probe out and approaching from another direction may not be possible.
This is where articulation becomes important.
When Articulation Is Worth It
An articulating probe allows you to change the camera’s direction after insertion. Two-way articulation provides movement along two directions, while four-way systems offer control in four directions.
For professional inspections, articulation is particularly useful when:
- The inspection path contains multiple bends.
- The target is located on a sidewall.
- The access point limits how the probe can be positioned externally.
- You need to inspect around internal components.
- The camera needs to remain close to a specific surface while changing viewing direction.
The amount of articulation you need depends on the geometry of the inspection. A straight mechanical passage may not justify a complex articulating system, while an engine, pipe network, or machinery assembly can benefit considerably from directional control.
Choose Image Quality Based on the Defect You Need to See
A specification such as “1080p” does not automatically mean the inspection image will be useful.
The camera needs to show the type of detail you are actually looking for. A general condition check may only require enough clarity to identify an obstruction or damaged component. Detecting fine cracks, corrosion, surface wear, or small defects demands better imaging.
Look beyond resolution and consider:
- Sensor performance
- Lens quality
- Focus range
- Field of view
- Image stability
- Display quality
- Lighting around the camera
- Performance at the actual working distance
Higher resolution alone does not guarantee better inspection results. The imaging system and illumination need to work together, particularly inside dark or reflective spaces.
For example, if the camera is positioned several inches away from a metal surface, the image needs to remain sufficiently sharp at that distance. If the probe must touch the surface to see detail, a high-resolution sensor will not compensate for an unsuitable focus range.
Do Not Overlook Viewing Coverage
A forward-facing camera shows what is directly in front of the lens. That can be limiting when the inspection requires examining the surrounding area.
Consider a pipe inspection where the camera travels down the center of the pipe. A defect may be located on the upper or side wall rather than directly ahead. A broader viewing system, rotating probe, or alternative viewing direction can make it easier to examine those surfaces without constantly repositioning the entire probe.
Match the View to the Target
Ask what you actually need to see after the probe enters space.
If the target is directly ahead, a conventional forward-facing camera may be sufficient. If you need to examine walls, corners, joints, or components around the probe, additional viewing capability becomes more valuable.
This is particularly relevant for professional inspections because the objective is not simply to get an image. You need to position the camera so that the image provides useful evidence about the condition of the inspected area.
Select the Right Probe Length
A probe that is too short creates an obvious problem: it cannot reach the inspection target.
However, choosing the longest available probe is not necessarily the solution.
Longer probes can be harder to manage, especially when working around bends or in confined work areas. Extra length also adds storage and handling requirements. For many building, HVAC, engine, and machinery inspections, a shorter probe can provide better control if it comfortably reaches the target. Longer configurations become more relevant for deep pipes, large equipment, and extended internal passages.
Before selecting the length, estimate:
- Distance from the access point to the target
- Additional length needed to navigate bends
- How much probe must remain outside the opening
- Whether the probe can be comfortably controlled at full extension
Choose enough length to complete the inspection without carrying unnecessary cable.
Adjust Lighting for the Inspection Environment
Even a good camera can produce poor inspection results if the lighting is wrong.
A dark cavity requires enough illumination to reveal surface details. A polished metal surface presents the opposite problem: excessive light can create glare and wash out the very defect you are trying to inspect.
Adjustable LED brightness is therefore more useful than simply choosing the model with the brightest light. Lowering illumination can improve visibility on reflective surfaces, while higher output can help illuminate deep or poorly lit areas.
Also consider the distance between the camera and the target. A camera positioned very close to a surface may need less light than one inspecting a larger cavity from several inches away.
Check Recording and Documentation Features
Professional inspections often need to produce evidence, not just a live view.
If an inspector identifies corrosion, a crack, blockage, damaged wiring, or another defect, being able to capture an image or video can make the finding easier to document and review.
Look for:
- Still-image capture
- Video recording
- Local storage
- Easy file transfer
- Clear timestamps where required
- A display that remains readable in the working environment
A useful workflow is to capture an overview image first, then closer images of the suspected defect. This gives the final inspection record enough context to show where the finding was located.
Consider Durability for Repeated Professional Use
A borescope used occasionally in a workshop does not face the same demands as one used every day for inspections.
Repeated insertion and withdrawal can put stress on the probe. Jobs may also expose equipment to dust, oil, moisture, and contact with rough surfaces.
For regular professional use, examine the construction of the probe, camera head, connectors, controls, and storage case. Environmental protection should also match the conditions in which the scope will actually be used.
An industrial borescope can be appropriate when the inspection requires a combination of reach, maneuverability, illumination, and broader viewing coverage.
Build Your Choice Around the Job
Before buying a borescope, work backward from the inspection you perform most often.
Identify the access point first, then determine how far the camera needs to travel and how complicated the route is. From there, select the probe diameter, length, and articulation needed to position the camera. Finally, evaluate image quality, lighting, viewing coverage, recording, and durability based on what you need to identify and document.
If the inspection requires a narrow probe but detailed imaging, prioritize the best imaging performance available within that diameter. If the route contains multiple bends, put more emphasis on articulation. If the target is deep inside a long pipe, reach and illumination become critical.
The right borescope is not necessarily the one with the longest probe or highest resolution. It is the one that can enter the required space, reach the target, position the camera correctly, produce a usable image, and document the inspection reliably.